 NEWS
NEWS
 NEWS
NEWS
 NEWS
NEWS
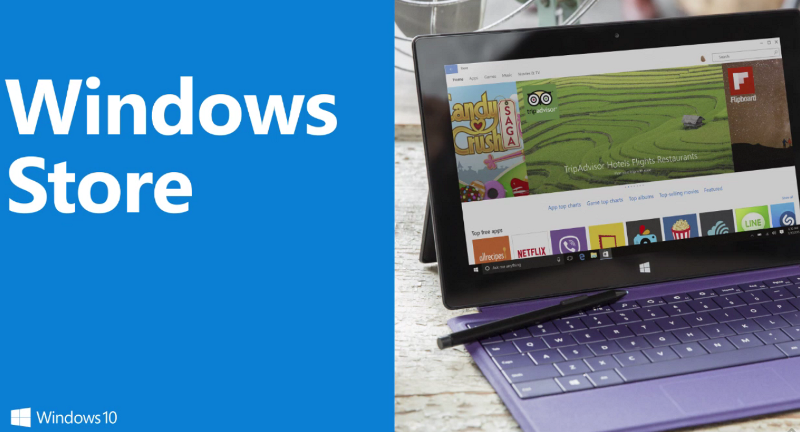
The Windows Store has undergone a complete revamp for Windows 10, but it is still easy to navigate and find the apps that you want to install.
For those starting out in the Windows Store, here is a quick guide to get started, including how the pricing structure works and how to download the apps, games, music and TV shows that you want.
Open up the Windows Store, which can be found in the Start Menu or under ‘S’ under your All Apps section.
Tip: If you want to pin the Windows Store to the Start menu for easy access, right-click the Windows Store app and click Pin to Start.
When the Windows Store opens, you will see your homepage that shows tabs for Games and Apps.
At the top of the homepage, you will see Picks for You, which are recommended apps specifically for you based on the apps you already have installed on your PC.
Scroll further down the homepage, and you will see side-scrolling lists of the top free apps, top paid apps, best-rated apps and new apps.
Toward the bottom of the homepage, you will find the Collections section. Collections are specially curated apps focused on specific categories, like Reading Room, Money and Budget, and Dishes and Dining, to name just a few.
At the bottom of the homepage, you will find a list of all the different app categories. You can also jump between sections by clicking on the sections at the top of the homepage.
Use the search bar in the upper right-hand corner to search for a specific app, after which you can refine your search by type (apps, games, movies, etc.) and then by category/genre.
To get an app from the Windows Store, you will first need a Microsoft account with a linked payment method, like a credit card, debit card, bank account or PayPal.
In the Windows Store, click on the icon of your account photo > select Payment Options > you will go to Microsoft’s Web portal (you may have to sign in first) > add and manage your payment options.
To download an app from the Windows Store, navigate to the apps specific page. Depending on the app you are downloading, you will see one of six buttons: Free, Free+, Free trial, Free trial+, Price or Price+.
Here’s what all those buttons mean:
The app is 100 percent free, with no in-app purchases.
The base version of the app is free, but it does have the option of in-app purchases that cost money.
This app is not free, but you can download a free trial of the app, which gives you access to the full version of the app for seven days. When the seven days is over, you will receive an alert to return to the Windows Store to buy the full version of the app if you want to.
Like the Free trial version above, this is also a paid app, but you can download a free trial for a limited seven-day period. During the trial period, you will have access to the full version of the app, but this specific app also has in-app purchases, which you will not have access to unless you buy them.
To download this app, you will have to pay money, but there are no in-app purchases.
To download this app, you will have to pay money, and there are also in-app purchases.
Once you have decided on an app, click the Download button. The app will download and install on your PC.
Once the install is complete, you can open the app directly from the app page. Alternatively, you can find it under the Start menu > Recently added.
Support our open free content by sharing and engaging with our content and community.
Where Technology Leaders Connect, Share Intelligence & Create Opportunities
SiliconANGLE Media is a recognized leader in digital media innovation serving innovative audiences and brands, bringing together cutting-edge technology, influential content, strategic insights and real-time audience engagement. As the parent company of SiliconANGLE, theCUBE Network, theCUBE Research, CUBE365, theCUBE AI and theCUBE SuperStudios — such as those established in Silicon Valley and the New York Stock Exchange (NYSE) — SiliconANGLE Media operates at the intersection of media, technology, and AI. .
Founded by tech visionaries John Furrier and Dave Vellante, SiliconANGLE Media has built a powerful ecosystem of industry-leading digital media brands, with a reach of 15+ million elite tech professionals. The company’s new, proprietary theCUBE AI Video cloud is breaking ground in audience interaction, leveraging theCUBEai.com neural network to help technology companies make data-driven decisions and stay at the forefront of industry conversations.