 APPS
APPS
 APPS
APPS
 APPS
APPS
A rebuilt version of Google Sites is now available to all users, following a short beta launched in June.
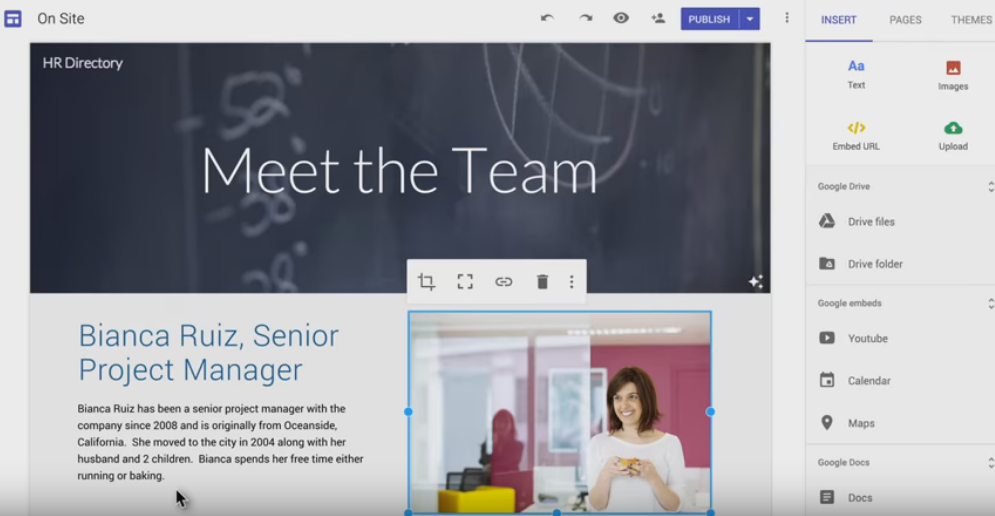
Google Sites is a drag-and-drop website builder that integrates with Google Inc.’s various other tools including Calendar, Docs, Drive, Maps and more. Users can then choose to publish their site publicly or internally within their organization.
The refreshed version of Google Sites now incorporates Google Analytics, allowing users to track the performance of their site. It also allows multiple users to collaborate on a site simultaneously using the same technology used in Google Docs. Google Sites now also contains various themes and layouts that are responsive to any screen size.
If you have already created a site in the classic Google Sites and want to migrate it to the new version, Google will be releasing migration tools in 2017.
Open Google Sites on your computer > click the “+” icon in the bottom-right corner to create a new site > start editing your site.
Note: To create a site in Google Sites you must be using Chrome (version 24 or up) or the latest Firefox web browser.
Name your site file: This is the name that will appear in Google Drive. Open your Google Site, click “Untitled Site” in the top-left corner > add the name.
Name your site: This is the name that people will see as your site’s title and will only show if you have two or more pages. Open your Google Site, click “Enter site name” in the top left corner > add the name of your site.
Tip: If you have more than one page you can add a name for each page, which will show at the top of the page. Open your site in Google Sites, click “Your page title” > add the name of the page.
Click Themes from the menu on the right > select the theme you want. Below the theme name, click “Font style” > select the relevant font style. Both the theme and font style can be changed at any stage.
![]()
Tip: To open the Insert menu you can also double-click on your site.
Tip: Images can be resized and cropped to suit your site.
Tip: You can also upload a file or folder from Google Drive. Click Insert > under Google Drive, select either “From Drive” or “Drive Folder.”
![]()
To preview your site, click the Preview button (eye icon) in the top menu. You can view how it will display on other devices by clicking either the Phone, Tablet or Computer icon in the bottom-right corner. To exit the preview, click the “x” icon.
Publish your site: Open your site in Google Sites > click Publish in the top menu > under “Site address” type the site’s URL. Select who can see your site, either Anyone at [your domain] (G Suite customers only) or Anyone on the web. Select whether you want your site to appear in search results. Click Publish.
Tip: You can change who can see your site at any stage by clicking Publish > Publish settings.
The new Google Sites can now provide basic data about your site. If you are new to Google Analytics, create an account or note the tracking ID if you are an existing user.
Open the Google Site file > click the More icon > Site Analytics > enter the tracking ID > click Save.
Source: Google Sites Help
Support our mission to keep content open and free by engaging with theCUBE community. Join theCUBE’s Alumni Trust Network, where technology leaders connect, share intelligence and create opportunities.
Founded by tech visionaries John Furrier and Dave Vellante, SiliconANGLE Media has built a dynamic ecosystem of industry-leading digital media brands that reach 15+ million elite tech professionals. Our new proprietary theCUBE AI Video Cloud is breaking ground in audience interaction, leveraging theCUBEai.com neural network to help technology companies make data-driven decisions and stay at the forefront of industry conversations.